
Natural Light:
Using sunlight for portraits is ideal because natural light creates a soft, flattering effect that enhances the subject’s features and provides a beautiful, authentic feel to the image. One of the best ways to take advantage of sunlight is by positioning the subject near windows, especially when the light is diffused through curtains or blinds. This helps to create even lighting that avoids harsh shadows. If you’re shooting outdoors, the golden hour—the period just after sunrise or before sunset—offers the perfect conditions for portrait photography. During this time, the sunlight is warm, diffused, and creates a soft, golden glow that can add a magical, ethereal quality to your portraits. The soft, diffused light reduces the appearance of wrinkles and blemishes, making it flattering for almost any subject. So whether you're working indoors or outdoors, harnessing the power of natural sunlight is a great way to elevate your portrait photography and create stunning, timeless images.
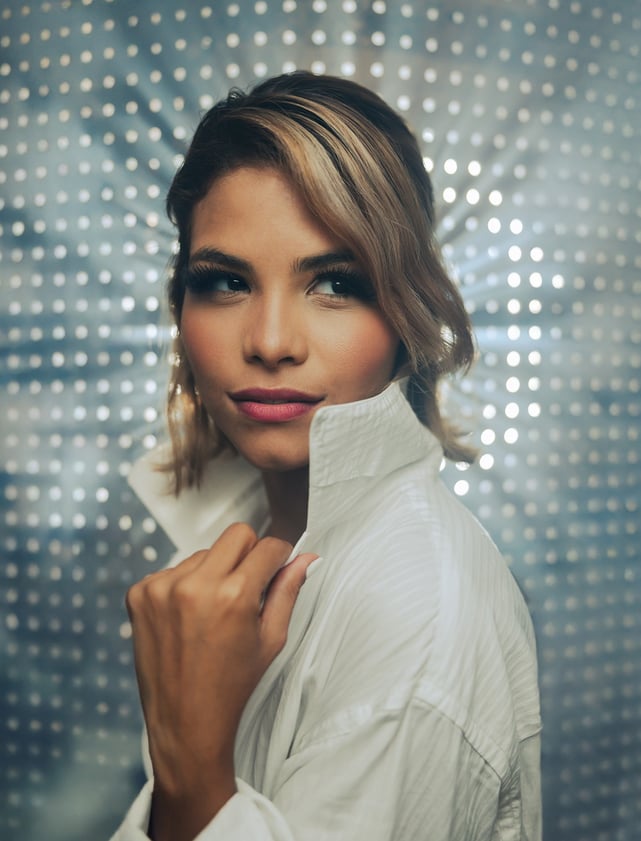
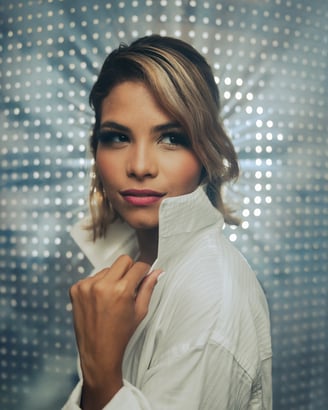
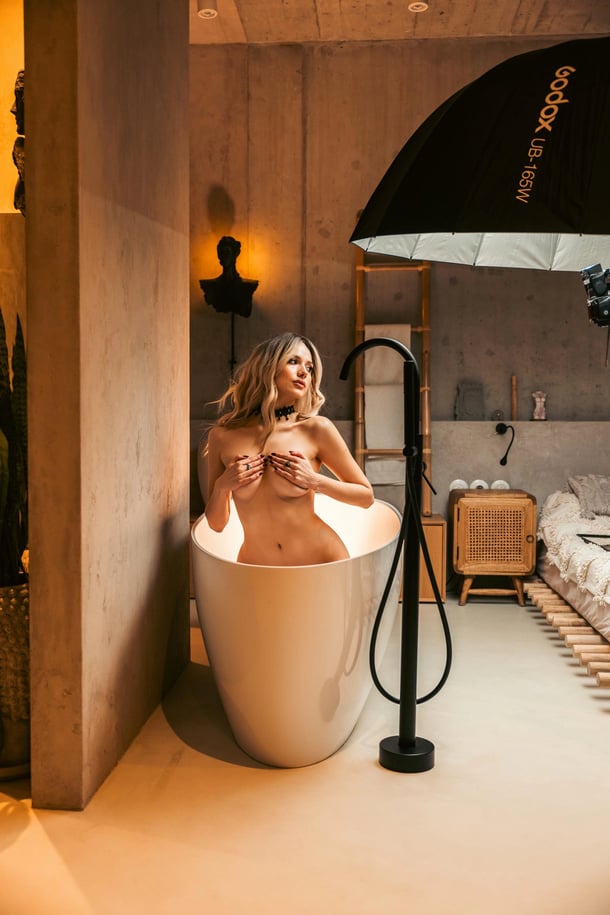
Studio Lighting:

Mastering studio lighting setups is essential for achieving a professional finish in portrait photography. A fundamental understanding of key light, fill light, and backlighting allows photographers to control how light interacts with the subject and the overall mood of the image.
Key Light is the primary source of light and is typically positioned at a 45-degree angle to the subject, slightly above eye level. This creates natural-looking shadows and highlights that define the shape of the face and body, emphasizing the subject's features.
Fill Light works to soften the shadows created by the key light, ensuring that the image doesn't have overly harsh contrasts. It's typically placed opposite the key light at a lower intensity to balance the lighting, providing a more even exposure across the subject without losing depth.
Backlighting or rim lighting is placed behind the subject to create a separation between the subject and the background. This technique outlines the subject with a glowing rim of light, giving the shot a three-dimensional feel and adding a sense of depth.
Additionally, incorporating Rembrandt lighting into your studio setup can elevate your portraits by adding mood and depth. This lighting technique is named after the famous Dutch painter Rembrandt, who often used dramatic lighting in his paintings. It involves positioning the key light at a 45-degree angle above and to the side of the subject, creating a distinctive triangle of light on the cheek opposite the light source. This setup enhances the contrast, bringing out rich textures and shadows while adding a timeless, dramatic quality to the image.
By combining these lighting techniques, you can craft professional-looking portraits that are dynamic, well-lit, and full of character, whether you’re shooting a simple headshot or a more intricate, stylized portrait.
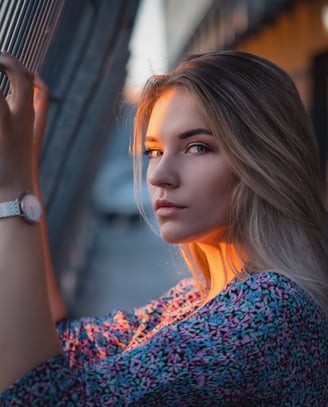
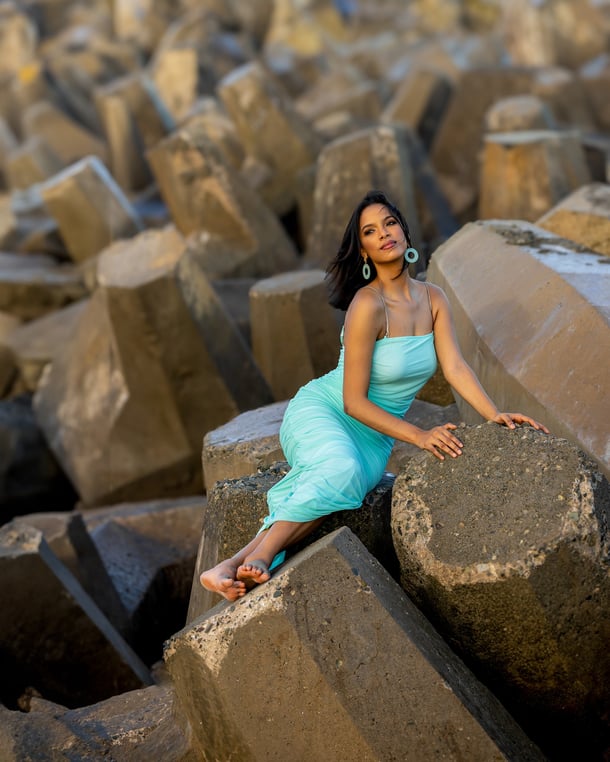
Golden Hour:
The golden hour, which occurs shortly after sunrise or just before sunset, is one of the most coveted times of day for portrait photography. During this period, the sun is lower in the sky, casting a warm, soft, and diffused light that flatters the subject's features and adds a natural, glowing effect to the skin. This gentle light minimizes harsh shadows and highlights, creating a beautiful and even illumination that brings out the best in your subject.
The warm tones of the golden hour light—rich oranges, reds, and yellows—add a magical and dreamy quality to portraits, enhancing the overall mood of the image. It’s the ideal time for outdoor shoots because the light is both flattering and atmospheric, adding a sense of depth and texture without being overwhelming. Whether you're capturing intimate close-ups or wide scenic shots, golden hour light can transform your photography into something truly special, infusing each image with warmth and natural beauty.
Taking advantage of this fleeting period of time ensures that your portraits are not only visually stunning but also filled with a sense of timelessness and serenity.


Combination of mix Light
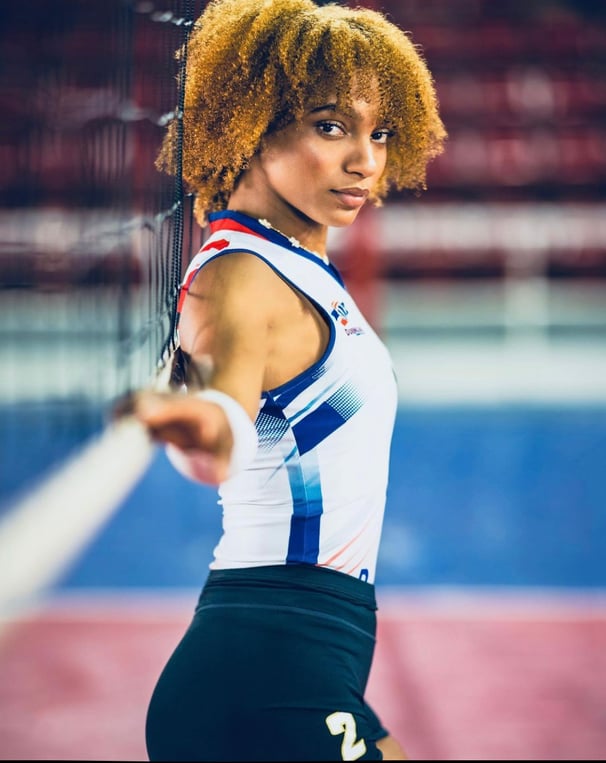
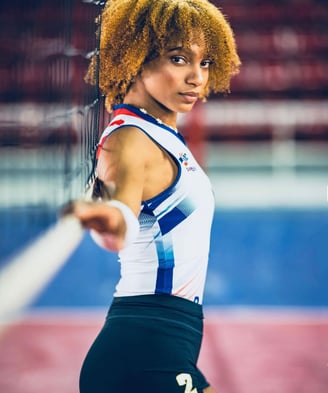
The photo with the Volleyball National player in the Dominican Republic was taken at the Santo Domingo National Stadium, Centro Olímpico. For this shot, we utilized natural light streaming into the court through the windows, providing a soft, ambient light that illuminated the subject naturally. To enhance this lighting and ensure a more even exposure, we added a Godox P120L Parabolic Softbox as a fill light. The softbox helped create soft, flattering light that eliminated harsh shadows, ensuring the player’s features were illuminated in a smooth and balanced way. The combination of the natural light and the softbox created a professional, polished look while maintaining the dynamic atmosphere of the indoor sports environment. This lighting setup not only captured the essence of the moment but also highlighted the athlete in a way that felt both natural and powerful.
Posing Tips for Natural and Flattering Portraits
Posing is one of the most crucial elements in portrait photography. A great pose can enhance the subject's features and create a more dynamic shot. Here are some tips:
Angle the Body: Slightly turn the subject’s body rather than having them face the camera straight on.
Relax the Hands: Encourage the subject to relax their hands by giving them something to hold or subtly placing them on their body.
Focus on the Eyes: The eyes are the focal point of a portrait. Make sure they are well-lit and in focus.

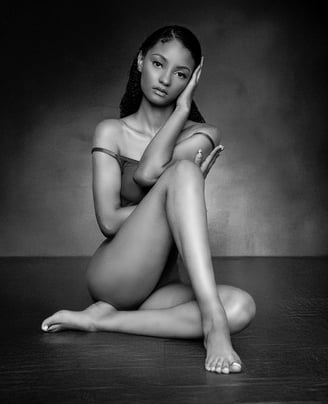
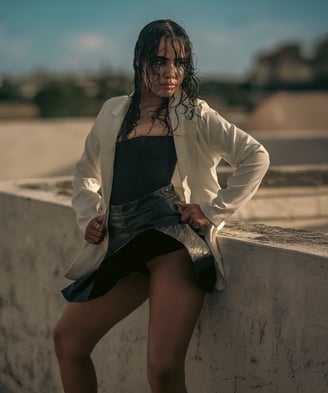
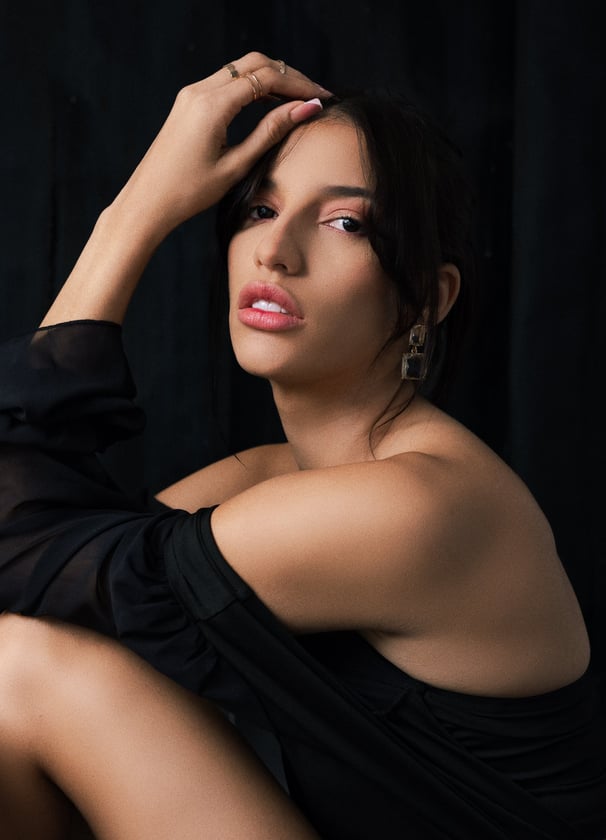
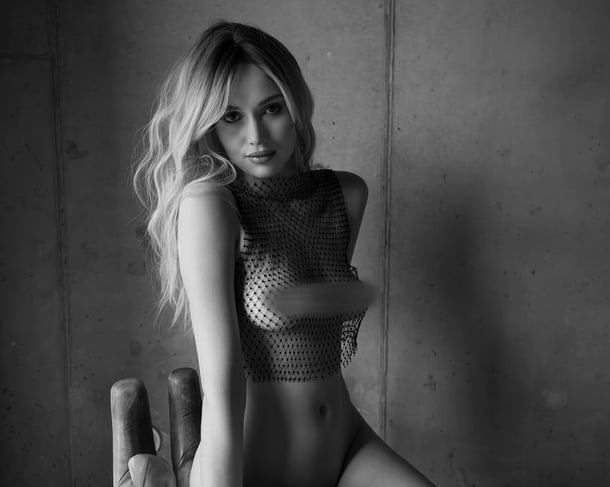
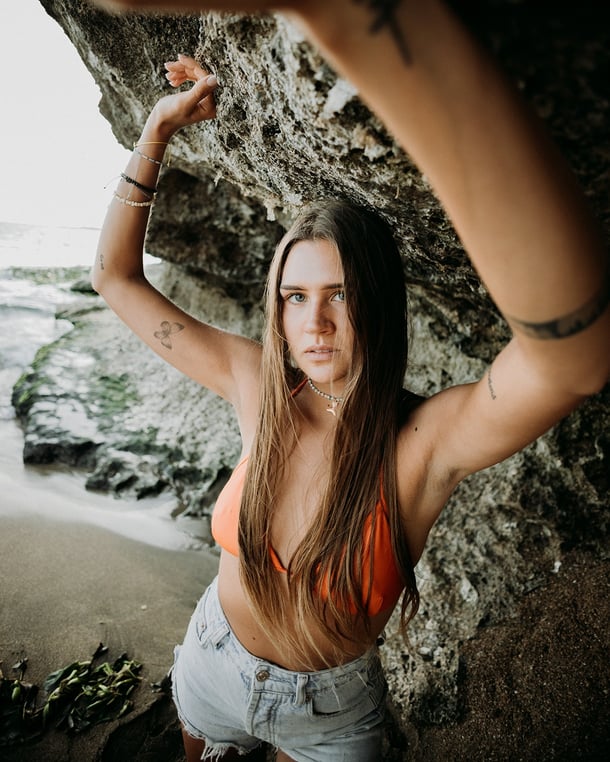
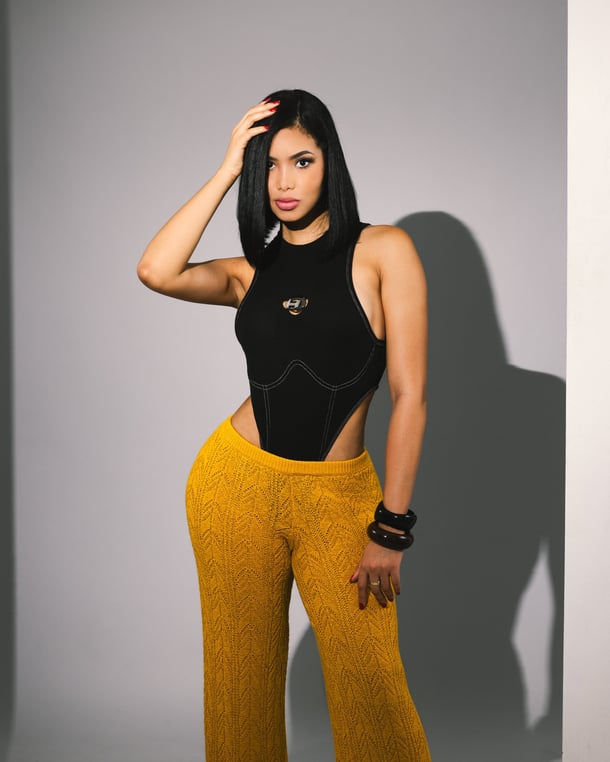
Examples and Inspiration for Portrait Photography
Looking for inspiration? Check out these portrait photography examples for ideas on how to approach different types of shoots, from professional headshots to creative, fine-art portraits.


Creativity
Capturing moments through photography and videography.
info@babulashotsrd.com
+1 809 720 9547
© 2025. All rights reserved. Babula Shots RD